Imagine crafting luxurious, skin-nourishing soap in your kitchen—no fancy lab or expensive tools required. Goat milk soap has surged in popularity, with the global handmade soap market expected to grow by 5.8% annually through 2025 (Statista).
But here’s the catch: many beginners waste money on poorly curated kits or skip essential steps, leading to crumbly bars or skin irritation. As a soap-making instructor with over a decade of experience, I’ve seen countless students transform frustration into success with the right supplies. Let’s unpack exactly what you need in a goat milk soap-making supplies kit and how to avoid rookie mistakes.
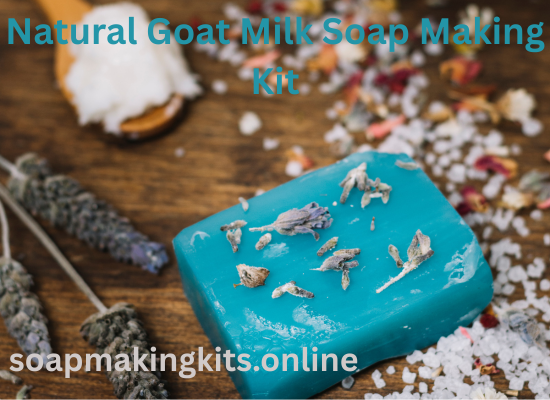
Why Goat Milk Soap? (And Why Your Kit Matters)
Goat milk isn’t just a TikTok trend—it’s packed with lactic acid, vitamins A and E, and fatty acids that moisturize and soothe sensitive skin. But to harness these benefits, your supplies must balance quality and practicality.
Key Benefits:
- Reduces inflammation (Dermatology Times, 2023 study)
- Gentle enough for eczema-prone skin
- Creates a creamier lather than water-based soaps
Read more: Top Oils for Soap Making Here a guide to making your own soap
The Ultimate Goat Milk Soap Making Supplies Kit Checklist
1. Base Oils & Butters
- Coconut Oil (20-30% of recipe): For bubbly lather.
- Olive Oil (40-50%): Adds moisture and hardness.
- Shea Butter (5-10%): Boosts creaminess.
Pro Tip: Avoid cheap, refined oils—they strip natural benefits.
2. Lye (Sodium Hydroxide)
- Crucial for saponification but handle with care!
- Use 100% pure lye (no drain cleaners).
- Safety Must-Haves: Gloves, goggles, and a well-ventilated workspace.
3. Goat Milk
- Fresh vs. Powdered: Fresh offers superior creaminess but spoils faster. Powdered (like Meyenberg) is shelf-stable and easier for beginners.
4. Molds & Cutting Tools
- Silicone Molds: Flexible for easy removal.
- Wooden Loaf Molds: Classic for traditional bars.
- Stainless Steel Wire Cutter: Ensures clean slices.
5. Additives (Optional but Fun)
- Clays (Kaolin, Bentonite): For color and detoxifying.
- Essential Oils (Lavender, Tea Tree): Skip fragrance oils for a natural touch.
Read more: Making and using soap in easy ways
Step-by-Step: Crafting Your First Batch
Follow my field-tested method:
1. Prep Your Workspace
- Clear counters, lay down newspaper, and pre-measure ingredients.
2. Mix Lye & Milk
- Freeze goat milk into cubes first to prevent scorching.
- Slowly add lye to milk (outside or near a window!).
3. Blend Oils & Lye Solution
- Heat oils to 100°F, then mix with lye solution.
- Stick blend until “trace” (pudding-like consistency).
4. Pour & Cure
- Pour into molds, insulate with towels, and wait 24-48 hours.
- Cure bars for 4-6 weeks in a cool, dry place.
7 Costly Mistakes to Avoid
- Using Tap Water: Minerals alter pH. Stick to distilled water.
- Skipping the SAP Chart: Lye amounts vary by oil. Always calculate!
- Overheating Milk: Burnt milk smells awful—freeze it first.
Read more: Learn about soap, what is soap
Conclusion
Ready to transform your kitchen into a mini skincare lab? With the perfect goat milk soap-making supplies kit and these expert tips, you’re all set to create luxurious, boutique-quality bars that pamper your skin and impress everyone.
Whether you’re a beginner or a seasoned crafter, the journey to handmade, natural skincare starts here. Got questions or need advice? Don’t hesitate to drop them below—I’m here to help and will personally reply to guide you every step of the way. Let’s get crafting!
FAQS
1. Can I use store-bought goat milk?
Yes, but avoid ultra-pasteurized—it’s less nutritious for the skin.
2. How long does homemade soap last?
year if cured properly. Add rosemary extract to extend shelf life.
3. Is lye dangerous?
Yes, but fully saponified soap contains no active lye. Always follow safety protocols!